Forms
Fastspot created the "Form builder" tool for Malone to use in place of Mach forms. Google Forms also may be linked to if you would like to create or embed one of those (and know how to create and use them).
Create a form
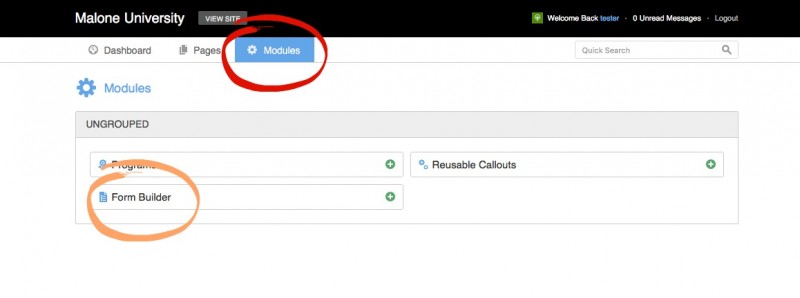
- Navigate to "Modules" (red circle) then "Form Builder" (orange circle).
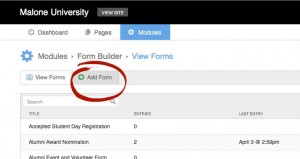
- Select Add Form
- Give your form a title

- Add elements to your form by selecting an element, then dragging it over to where you want it to be placed on your form.
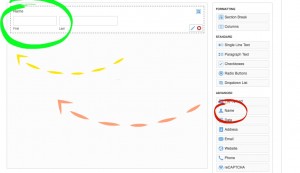
- You may edit any element you wish by selecting the pencil. To delete an element, select the "X." To add a section break, click the icon on the upper right.

- To edit the element, select the pencil and type in the field. You may require users
fill out the field by clicking "Required."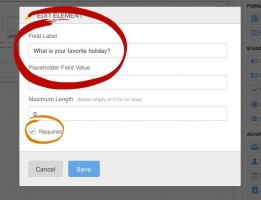
- Continue adding elements until you have all that you need. Save it by clicking "Create."
- To edit the form, you will need to go to the modules and simply edit the fields once you've chosen your form.
Place a new form on a webpage
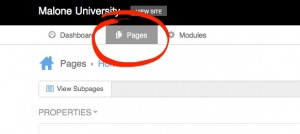
- Navigate to Pages
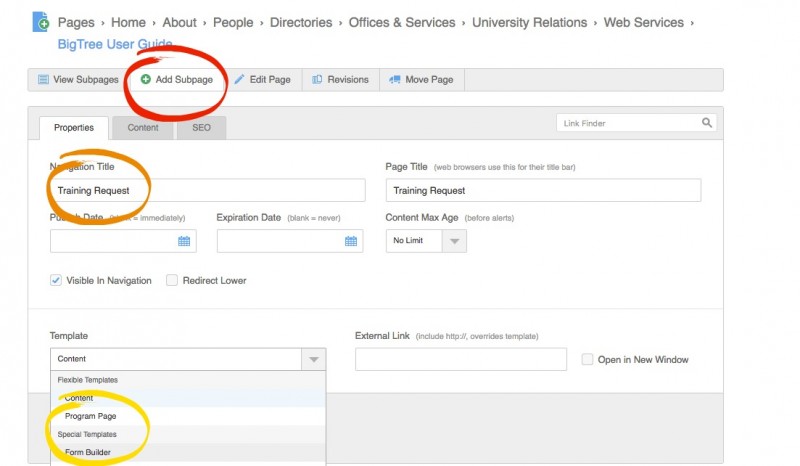
- Once you have navigated to where you need to be, select, "Add Subpage" (red circle). Next, give your form page a title (orange circle). Then, select "Form builder."
- Select "Next Step>>"
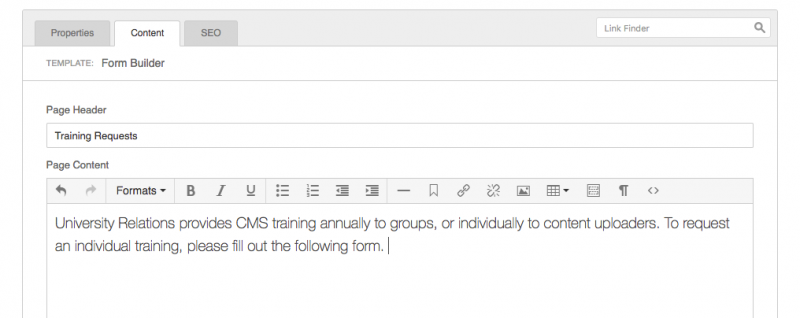
- Name the page, and if you want to add context to the form, add it to the "Page Content."
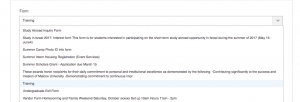
- Select the form you just created from the dropdown list.
- If "Email Address" is one of the fields on your forms and you would like the audience to receive emails, then select it from the dropdown menu. If you do not want them to receive an email, leave it blank. If you want them to receive an email, fill out a subject line for the email the audience will receive.

- If you want them to receive a copy of what they sent you, copy and paste the "tokens" into the entry field and arrange them in whatever order makes sense.

- To receive the form submissions, please enter your email address (or the email address of
whomever is supposed to be receiving them.
- The "Thank You Page Header" and "Thank You Page Content"
are what the audiencesee on the website after they have submitted their forms.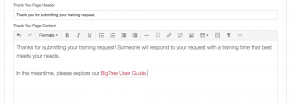
- Feel free to add the "Sidebar Callout" of "Contact Information" so
audience may contact you as they are filling out the form. (See how on the page Content Strategy.) - Click "Create" to create your form.

